Hallway
Hallway Part 2: Board and Batten
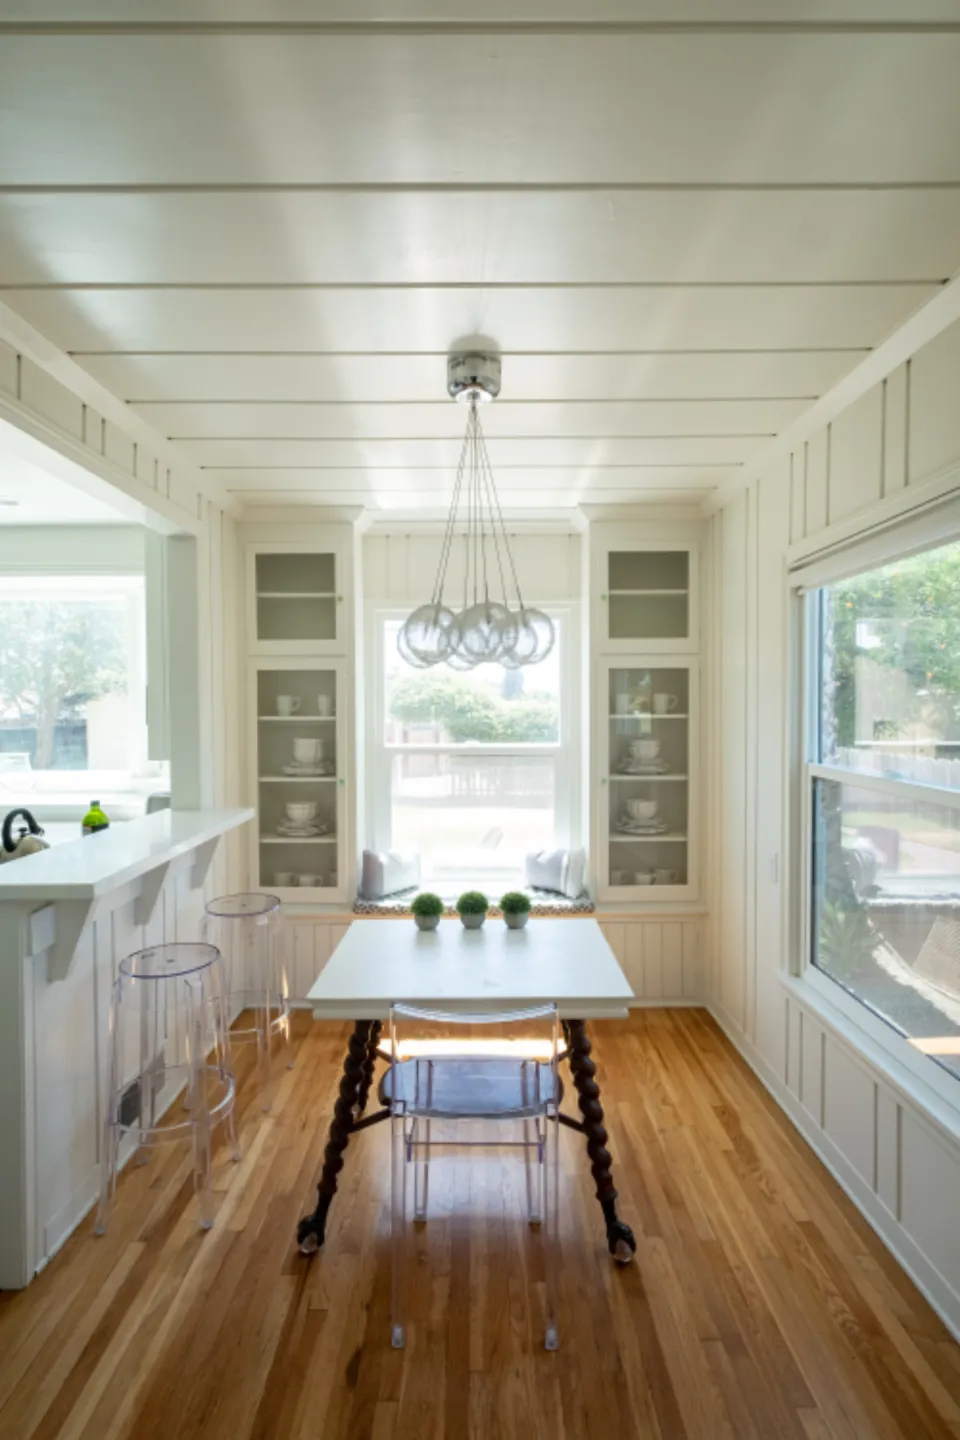
New doors are in. Now the hallway needed something to make it feel less like a tunnel and more like part of the house. The answer: board and batten.
Why board and batten walls?
Board and batten adds texture and shadow lines without the cost or fuss of real wainscoting. In a narrow hallway it also protects the lower wall from scuffs, bags and the vacuum. And it's very beginner friendly: if you can use a miter saw and a nail gun, you can do this.
Materials
- 1x4 primed MDF for the vertical battens and the top rail
- 1x2 for a small cap ledge on top of the rail
- Construction adhesive and 2" brad nails
- Paintable caulk and wood filler
- Semi-gloss paint (we used the same white as our trim)
How we did it
- Pick a height. About 2/3 of the wall height looked best in our hallway, roughly 60".
- Install the top rail level all the way around, nailed into studs.
- Space the battens evenly. We aimed for 16" to 18" between battens and adjusted so each wall ended with a full space.
- Glue and nail each batten, checking plumb with a level.
- Caulk every seam and fill nail holes. This is the step that makes it look built-in.
- Paint the battens and the wall between them the same color for a seamless look.
The hallway went from our most hated space to our most complimented. Every guest touches the walls. We're choosing to take that as a compliment.